

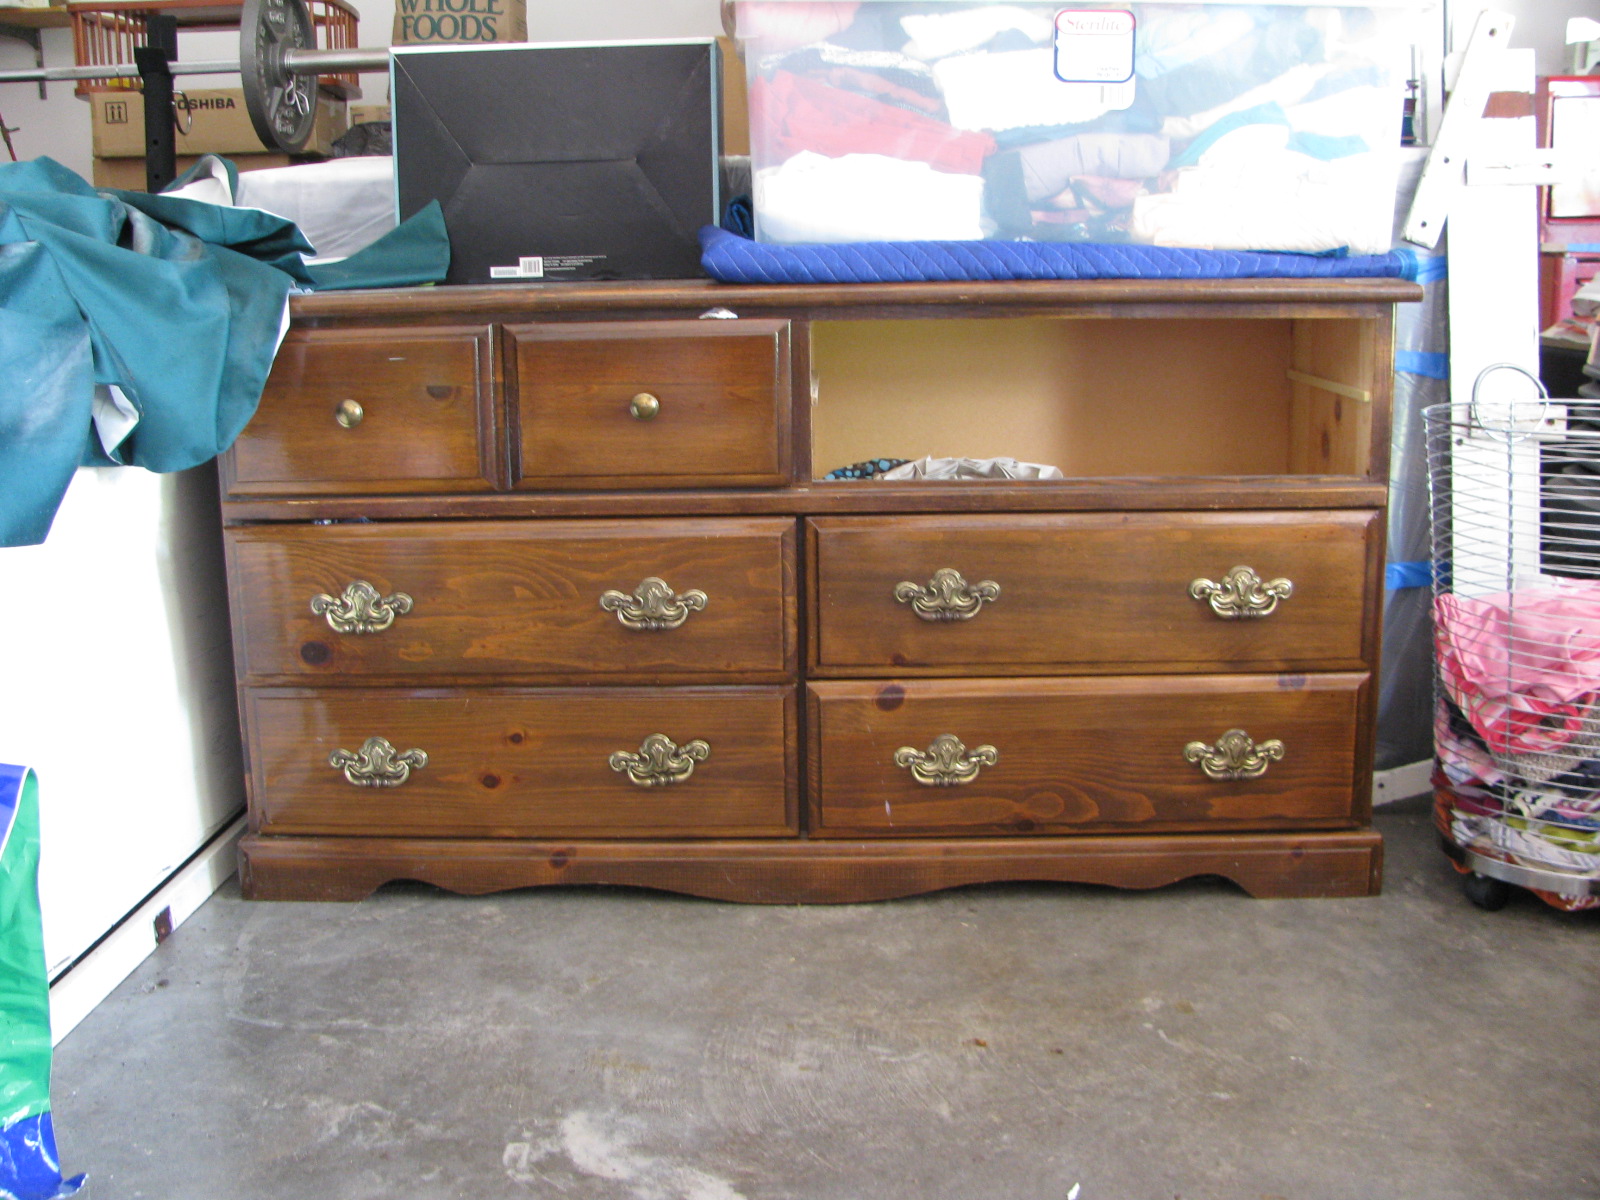
I've had this dresser for as long as I can remember. My mom bought it from an unfinished furniture store and stained it herself years and years ago. It has served me very well over the past 20+ years, but I thought it was time for a facelift for the old girl. Enter some paint, lots of trial and error, and a lot of sweat. Because it's July. In Texas.
I think it's always a good idea to have some vision of what you want to do with a piece of furniture prior to jumping in (lesson learned through the great bookcase paint color mishap of 2006), so I scoured the internet for some inspiration before diving into this one. This became my inspiration picture:

What a beauty. Photo from this website.
I went to buy the paint with this photo in hand--another lesson learned the hard way, especially with yellow hues: always helpful to have a picture or object to match to the paint swatches in the store.
I wanted to give the dresser an aged or antiqued look, by having some edges worn down showing a brown color underneath (as if the wood were showing through). My initial idea was to do this by painting the dresser brown and then yellow over it, then sanding down to let the brown coat show through on the edges. With that in mind, I picked two colors called Warm Muffin and Caramel Latte. Sounds like a great breakfast combo.


Don't be fooled by the beige appearance of the Warm Muffin swatch. Let me assure you that this baby comes out of the can looking yellow. Thus the importance of matching swatches in the store.
The first step in painting a finished wood piece is sanding it down, just to give the paint something to grab on to. Here's what I used:

I started with the drawers since I wasn't entirely sure what I was doing. I used the electric sander to take off the bulk of the varnish, then followed up with the hand sander to get the hard-to-reach spots.


Once all the varnish was off, it was time to paint! I put on three coats of the brown and then three coats of the yellow...for all six drawers... and the dresser body. Then it was time to rough it up. I used a pretty fine grit sandpaper, maybe around P220, to take off the yellow in spots on the edges of the drawers and the dresser. I tried to make it random, but keep these roughed spots in places where it would make sense to have paint rub off naturally.

After roughing up these spots, I still wasn't entirely pleased with the look of the dresser, and spent a lot of time staring at it and staring at the inspiration photo to determine what was missing. Finally I decided it was the slight color gradation in the piece in the photo that I needed to incorporate. I googled a bit and figured I could use a tinted glaze. I bought a can of faux finish glaze and tinted it with the Caramel Latte color, using about a 7 to 1 mixture since CL is a pretty powerful color. I spread the glaze around the edges of the dresser with a brush and then wiped it off with a rag, which left a hint of the color behind.


6 drawers and some drying time later, it was wax time. I used a paste wax to protect the paint job and give the whole dresser a bit of a sheen. You just spread it on with a rag or brush, let it dry, and then buff it. Wax on, wax off.

The final step was replacing the old hardware, and voila! A new old dresser!

No comments:
Post a Comment