It all began 3 and a half years ago--fall break 2006. Daniel and I went to Hot Springs, Arkansas, for the week that we had off of school. While driving through downtown one day, we saw a bunch of chairs out on the sidewalk in front of a movie theater. The theater owner was either shutting down or renovating (don't remember which), but regardless, he was getting rid of all the old chairs. These weren't typical plastic & velour chairs like you'd see in your local Cinemark, but real wooden chairs that were being sold for $2.
Well, I was not going to pass up a decent wooden chair for $2, even if that meant trying to find a way to fit it in the back of Daniel's Geo Metro and haul it all the way back to Houston. Somehow we mashed it in, and took it back to Texas.
For a year it lived with me, and then when I moved back into the dorms, it stayed with Daniel, and then when I moved to Austin, I retrieved it and it sat outside for a year and a half. The fabric on the seat and the back was (understandably) weatherproof (and UGLY), so I didn't make any special effort to incorporate it into the interior decor.
Then, a few weeks ago, I got bitten by the "must recover a chair" bug. I don't know why, but, as Marlane says, when you get motivated to do something productive, you've gotta capitalize on it. And thus began the Ugly Old Theater Chair Recovery.
The first step was to dismantle the thing. I really wish I had had the foresight to take a "before" picture, but what can I say? I had the bug, and I got all crazy about ripping this chair up. The hideous fabric really fueled my desire.
The chair's upside down, in case you can't tell. Front of the chair is towards the bottom of the picture. The bottom cushion had fallen down and is on the floor.
The first hurdle was getting the bottom cushion off. In the picture you can see the two diagonal pieces of wood at the bottom front of the chair--two screws pass through those pieces into the plywood on the bottom of the cushion. I thought, no problem, I'll just stick my trusty Phillips down there and whip those puppies out.
Wrong.
After a few minutes of struggle I figured they weren't Phillips head screws. Fine, I thought, I'll find a flathead and they'll come right out.
Wrong.
Okay, first lesson learned: take a moment to look at the screws before you try to extract them and fail a lot because you had the chair recovery bug and just couldn't take a moment to look. Turns out these particular screws had square-shaped holes, which was something I had never seen before.
Who knew? I could have, had I bothered to look. Also, yes that is some kind of bug nest.
So once I figured out what kind of screw I was dealing with, I found the correct drill head and twisted the cushion off. First victory!
Scout enjoys the ugly plasticy cushion after its removal.
The next step was to rip the back cushion apart. Here I really got more than I bargained for. Taking out the numerous staples was easy enough, but the sides of the back cushion were attached by means of a metal strip with the equivalent of a row of nails sticking out of it. That was fun to pry up. Separating this cushion from the chair took a few sessions.
The holes in the metal strip have been punched through to create metal spikes that attach the fabric to the chair back and create a clean edge.
Pulling back the foam revealed more staples to take out :(
Eventually I pried all the staples out and removed the back cushion foam and fabric. The foam was still in good shape, no weird old movie theater stains (probably thanks to the super duper weather resistant ugly fabric), so I was happily able to reuse it.
After both cushions were off, it was time to get the fabric off the bottom cushion. No problems here, just more staple removal and voila!
The naked bottom cushion, plywood bottom up, and Scout residing in the removed fabric.
While working on removing the fabric from the bottom cushion, I also spraypainted the wooden chair frame. First up was a couple coats of primer, and then a few coats of an ivory color that would go well with the fabric I picked out (I got 3 yards for less than $12 at Wal-Mart, visible in the bottom corner of the photo above). I let the chair dry overnight and it was good to go.
The spraypainted chair.
Next, I began the actual recovering process. Using the old cushion cover as a pattern, I cut out a piece of the new fabric that was large enough to cover the plywood and foam. Then, with the help of Marlane's staple gun, I carefully recovered the cushion, working with it upside down on the floor:
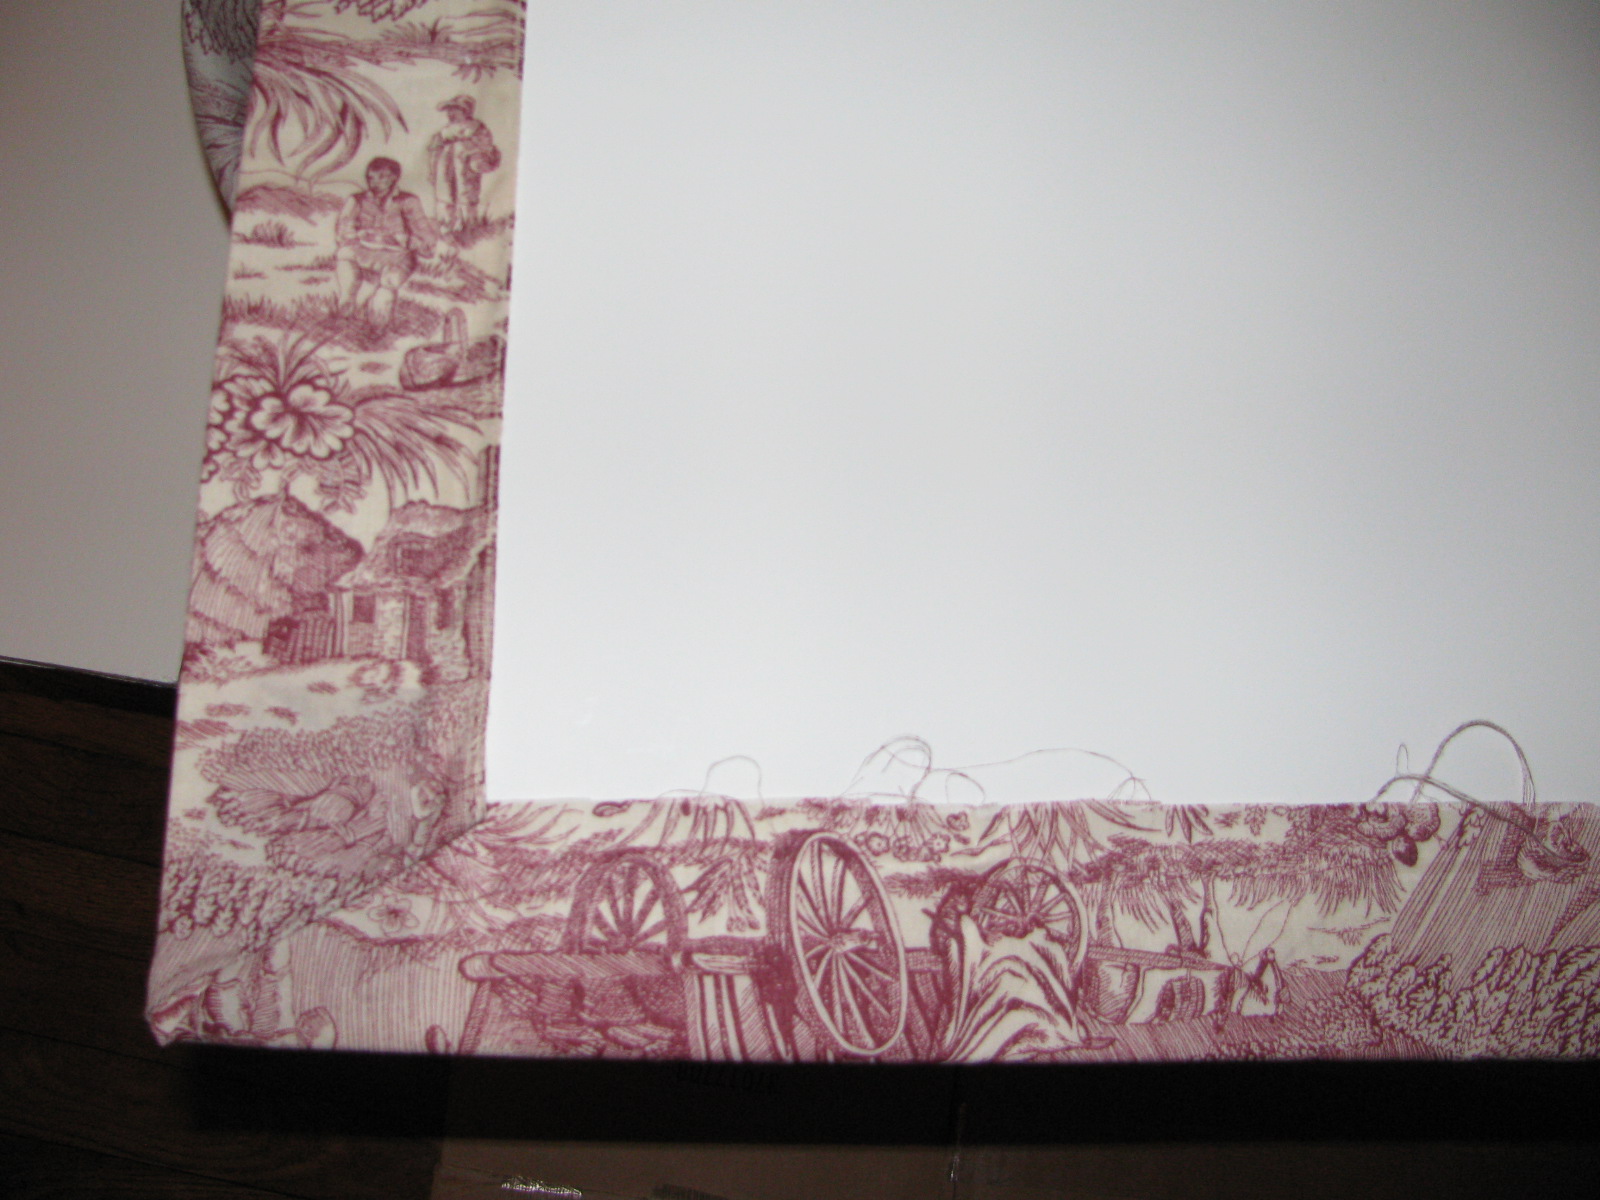
It helps to know what will actually be seen once the cushion is back on the chair. Any necessary folds in the fabric can be located there. Choosing a striped fabric was gutsy, I will admit, since it would be pretty obvious if the stripes got wonky.
Unfortunately the back cushion was more complicated, since the fabric had to be attached to the chair frame itself and not a separate backer like the plywood on the bottom cushion. I used the same technique for making the pattern, using the old pieces of fabric. I amended it a bit so that I only had to work with one piece of fabric instead of the two pieces the old cushion cover was made out of.
The first step to attach the fabric was to staple the bottom outward-facing side to the bottom back frame:
Then I stapled across the top, using a piece of cardstock I cut out to give the line more stiffness and a straighter edge.
After that it was on to stapling up the sides, sticking the foam back in, and figuring out how to put those metal strips back in to secure the sides once the top half of the fabric was folded over.
The metal strips were actually easier to reuse than I had thought they would be... thank goodness.
Then it was a few more staples at the bottom (an area which would be covered up once the bottom cushion was back on, so it didn't matter that it looked unfinished).
And finally, replacing the bottom cushion...
The finished product!
And it's DONE!! I can't believe it. A challenge, but it turned out a million times better than I expected. I actually don't mind looking at it now. It's still a very simple chair, but I'm proud of how it turned out.